
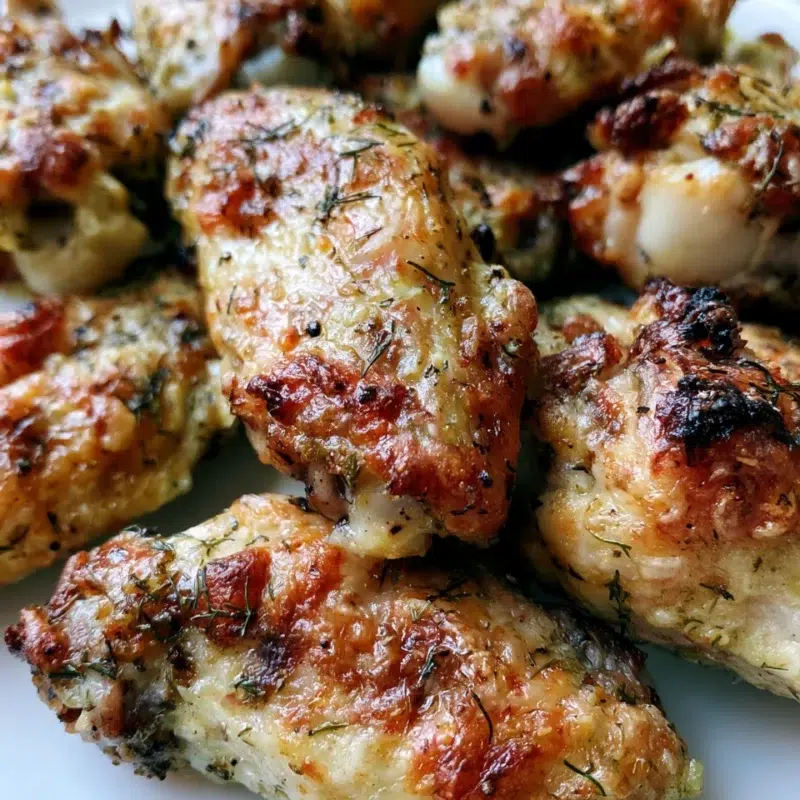
If you have ever made pickle-brined wings and ended up with great flavor but sad, soft skin, I see you. These Dill Pickle Chicken Wings are my fix for that, tangy from the brine, garlicky in the best way, and actually crispy baked chicken wings that crackle when you bite in.
I started making Dill Pickle Wings for game days because there is always one “something tangy” on the snack table that disappears first. In my house, it is pickles, pickle dip, pickle anything. The bold, nostalgic pickle flavor feels like a party trick, but it is also weirdly comforting, like the kind of snack you eat standing at the counter while everyone yells at the TV.
- Tangy and garlicky, with real dill flavor
- Crispy skin, thanks to a few simple steps
- Easy prep, oven-baked (and air fryer-friendly if you want)
Why Pickle Juice Brine Works (And How to Keep It Balanced)
A pickle juice brine for wings does two big things, it seasons the meat all the way through and it helps keep the wings tender. That is why Pickle Juice Brined Chicken Wings can taste so much more interesting than wings that only get seasoned on the outside. The dill, garlic, and saltiness from the brine work their way in, so every bite tastes like a real Dill Pickle Brined Chicken moment, not just “pickle-ish” skin.
My little kitchen rule is to taste your pickle juice first. Some brands are bright and garlicky, others are super salty, and a few are heavy on vinegar. I learned the hard way that brining too long can tip the whole thing into “whoa, that is a lot.” Now I aim for balanced flavor, then I focus on crisping.
Brine mindset: flavor first, then crisp. You want the wings to taste bold, but you also want the skin dry enough to bake up crackly.
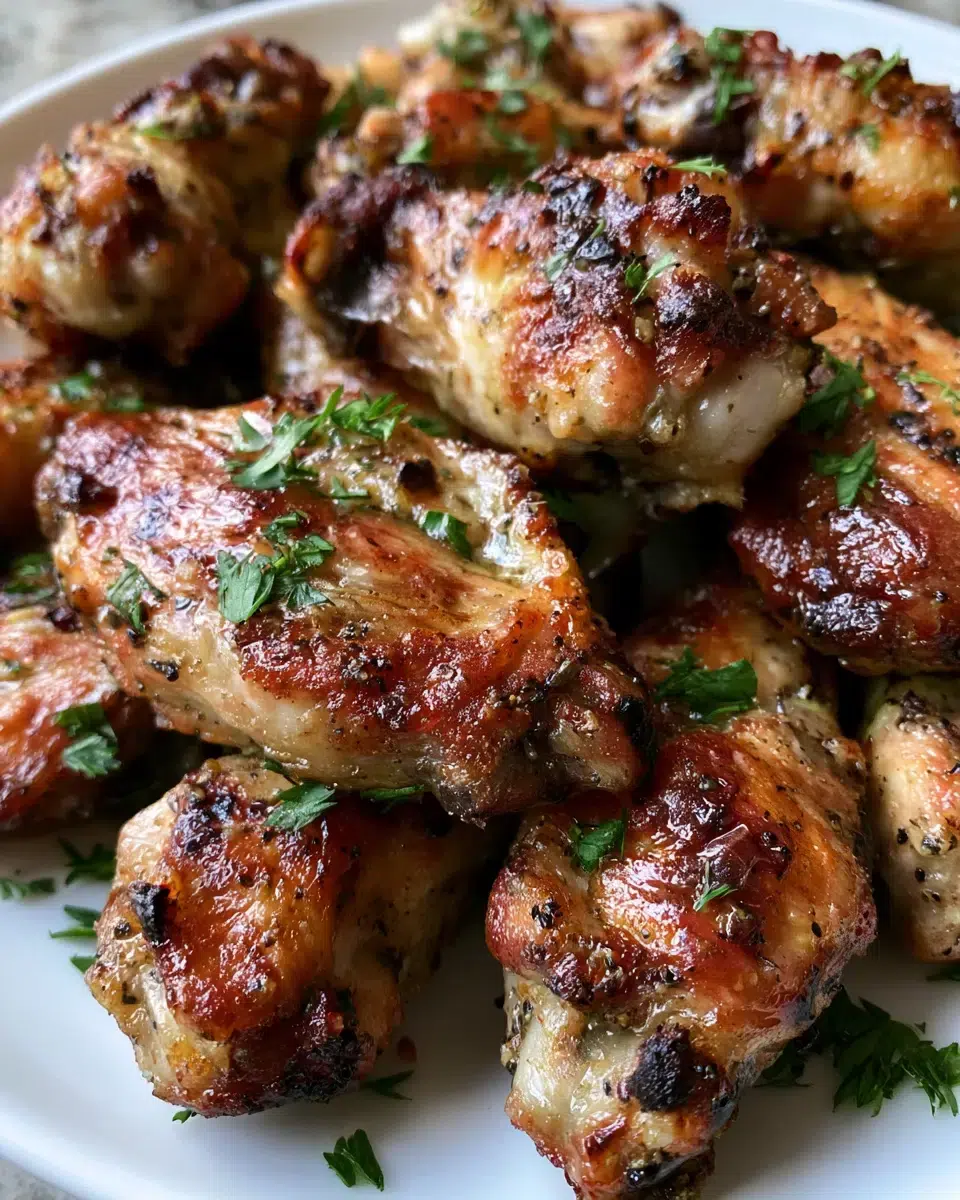
Ingredients You’ll Need
I keep this Dill Pickle Wings Recipe pretty simple on purpose, because the brine is the star. Think garlicky, dilly, bright, and salty enough to wake up the whole tray. If your pickle juice already tastes like garlic and dill, you are in a great place.
- 2 lb chicken wings
- 2 cups dill pickle juice
- 1 tsp fresh dill, chopped
- 1 tbsp olive oil
- 2 tsp garlic powder
- 1 tbsp aluminum-free baking powder
- 1/2 tsp salt
- 1/2 tsp freshly cracked black pepper
- Fresh or dried dill, for garnish
- Aluminum free baking powder wings tip: it is the key to crisp skin without a weird aftertaste
- Fresh dill adds that clean, herbal finish right at the end
- Garlic powder + pepper makes the whole thing taste like crispy dill pickle chicken, not just salty wings
Pickle Juice Brine 101 (Container, Timing, and Prep)
For dill pickle brine chicken wings, you do not need anything fancy. My go-to is a big zip-top bag set inside a bowl. The bowl is insurance in case the bag leaks, and it also helps the wings stay submerged.
Add the wings to the bag, pour in the pickle juice brine for wings, press out the air, and seal. Give it a gentle squish so the brine touches everything, then refrigerate. If you are prepping the night before a busy weekend, this is the step I do while the kids are doing homework and I am trying to find a missing soccer shin guard.
After brining, drain the wings well. Then comes the part that matters for crispiness, pat them dry. More on that below, but just know this, wet wings do not get crispy. If you love meal prep, this brine-and-dry routine fits right in with other easy baked chicken dinner ideas.
- Container: zip-top bag in a bowl, or a covered container
- Submerge: press out air so wings stay in the brine
- Chill: always brine in the refrigerator
- Drain: let excess brine drip off
- Pat dry: the most important prep step for crispy skin
Crispiness Playbook (The 3 Non-Negotiables)
Pat-Dry Like You Mean It
I used to rush this step, especially when everyone was hungry and hovering. Then I wondered why my wings were flavorful but not crispy baked chicken wings. Pickle brine clings to the skin, and if it stays wet, it steams in the oven instead of crisping.
Here is the “dry twice” trick. Pat the wings dry once, let them sit for a few minutes, then pat again. The moisture likes to come back, and that second round makes a visible difference.
- Use lots of paper towels, do not be shy
- Optional: let wings air-dry on a rack in the fridge for a bit before baking
Baking Powder = Crackly Skin
This is where the magic happens. Tossing wings with aluminum-free baking powder helps the skin dry out and brown better in the oven. I do it the simple way, I mix the baking powder with the spices first, then toss everything in a big bowl so it coats evenly.
If you sprinkle baking powder straight onto wet wings, you can get clumps, and nobody wants a bitter pocket on a wing. Mixing first keeps the coating light and even, and it is one of the easiest upgrades you can make for truly crispy wings.
Micro tip: Mix baking powder with spices first, then toss with the wings.
Rack vs. Sheet Pan (What I Use at Home)
I use a wire rack set over a sheet pan whenever I can. Airflow is what helps the skin crisp on all sides, and it keeps the wings from sitting in their own juices. This is how I get that crispy dill pickle chicken texture without frying.
- Wire rack: best crisp, more airflow, slightly more cleanup
- Direct on sheet pan: still works, just flip more carefully and expect a little less crunch
Easiest cleanup trick, line the sheet pan with foil or parchment under the rack. Future you will be grateful.
How to Make Dill Pickle Chicken Wings (Step-by-Step)
This is the part where the kitchen starts smelling like garlic and dill, and my kids magically appear even if they swore they were “not hungry.” These Dill Pickle Chicken Wings are straightforward, and once you do them once, you will feel like you can wing it (sorry, I had to).
- Brine the wings. Place wings in a zip-top bag or covered container. Pour in the dill pickle juice. Refrigerate (see FAQ for the best brine window).
- Preheat the oven. Heat to 425°F. Set a wire rack on a sheet pan if you have one.
- Drain and dry. Remove wings from the brine, let them drain, then pat very dry. Do the “dry twice” trick if you have time.
- Season. In a large bowl, mix garlic powder, aluminum-free baking powder, salt, and black pepper. Add wings and olive oil, then toss until evenly coated.
- Arrange. Place wings on the rack in a single layer with a little space between them. Crowding is the enemy of crisp.
- Bake. Bake for 40 to 50 minutes, flipping halfway through, until the skin is deeply golden and the wings reach 165°F internally.
- Finish with dill. Sprinkle with fresh chopped dill and a little extra black pepper if you like that sharper bite.
If you want to turn these into a full spread, I love pairing them with one crispy baked chicken favorite for the folks who are not on the pickle train, plus a big veggie platter for balance.
- Quick tip: Space the wings out, crowded wings steam.
- Quick tip: Flip halfway for even browning.
- Quick tip: Bake until the skin looks dry and blistered, not just “cooked.”
Optional Pickle Mayo Sauce (Creamy, Tangy, and Dunkable)
If you like a dip with your wings, this one is the “dip that disappears” in my house. I call it Dill Pickle Mayo, but it is basically a quick Pickle Mayo Sauce that tastes like a creamy pickle shop dream. It also doubles as a dill pickle wing sauce if you want to drizzle instead of dunk.
I usually set out two bowls, one mild for the kids, and one extra garlicky for the grown-ups. The wings are bold, so the dip does not need much, just enough creaminess to round out the tang.
- Base idea: mayonnaise + a splash of pickle juice + chopped dill + black pepper
- Mix-in ideas: a pinch of garlic powder, extra dill, more pepper for bite
Flavor Variations (Same Base, New Mood)
When I am making Dill Pickle Wings for a party, I love doing one base batch and splitting the seasoning into different “moods.” Same brine, same crisp method, but everyone gets to pick a favorite.
- Spicy pickle: add a pinch of crushed red pepper with the garlic powder and pepper
- Ranch-style vibe: add extra black pepper and a little more dill, then serve with the Pickle Mayo Sauce
- Extra tangy: finish with a tiny splash of pickle juice in the dipping sauce and a heavier sprinkle of fresh dill on the wings
Serving Ideas for Game Day (And an Easy Menu)
These are perfect for game day or snacks because you can set them out and let people graze. That is my hosting style, low stress, lots of napkins, and a table that looks like a snacky little buffet. In my house, the tangy things go first, and these wings are usually gone before halftime.
- Crunchy celery and carrots (extra good with the pickle mayo)
- A simple slaw or cucumber salad for something cool and crisp
- Roasted potatoes or potato wedges for a hearty side
- A big green salad if you want to feel like a responsible adult
Easy wing math: plan on about 6 to 8 wings per person for a main, or 3 to 5 per person if they are part of a bigger spread.
If you want another warm dish going without taking over your oven, add another game-day slow cooker chicken option and let the table do the rest.
Make-Ahead, Storage, and Re-Crisping Timeline
I love wings that fit into real life, meaning I can prep them around school pickups and weekend plans. This recipe is friendly for meal prep, and it is also a solid “stash for later” option if you want to store leftover wings for quick dinners.
- Day before: brine the wings and keep them chilled. You can also mix your dry seasoning so it is ready to go.
- Day of: drain, pat dry, season, and bake. Make the dipping sauce while the oven preheats.
- Leftovers: refrigerate in an airtight container and reheat wings crispy in the oven or air fryer when you are ready.
I do this a lot on Sundays. Then on a busy weeknight, I can pull out wings, reheat, and suddenly it feels like I planned something fun instead of scrambling.
Troubleshooting: Too Salty, Not Crispy, Too Tangy
I have overdone it before, especially when I was experimenting with different pickle juices. The good news is that wings are forgiving, and most problems have an easy fix. Here is what I do when a batch is not quite right.
- Problem: Too salty
Fix: Next time, shorten the brine time and go lighter on added salt. For this batch, serve with a creamy dip and a fresh side like slaw to balance it. - Problem: Not crispy
Fix: Pat dry more thoroughly, use the rack if possible, and do not crowd the pan. Also make sure you used aluminum-free baking powder and tossed it evenly. - Problem: Too tangy
Fix: Pair with a mellow dip (Pickle Mayo Sauce with less pickle juice), and finish with extra black pepper and dill to round out the flavor. - Problem: Skin feels wet after brining
Fix: Drain longer, then do the “dry twice” trick. Pickle juice brine for wings leaves moisture behind, and you have to chase it away.
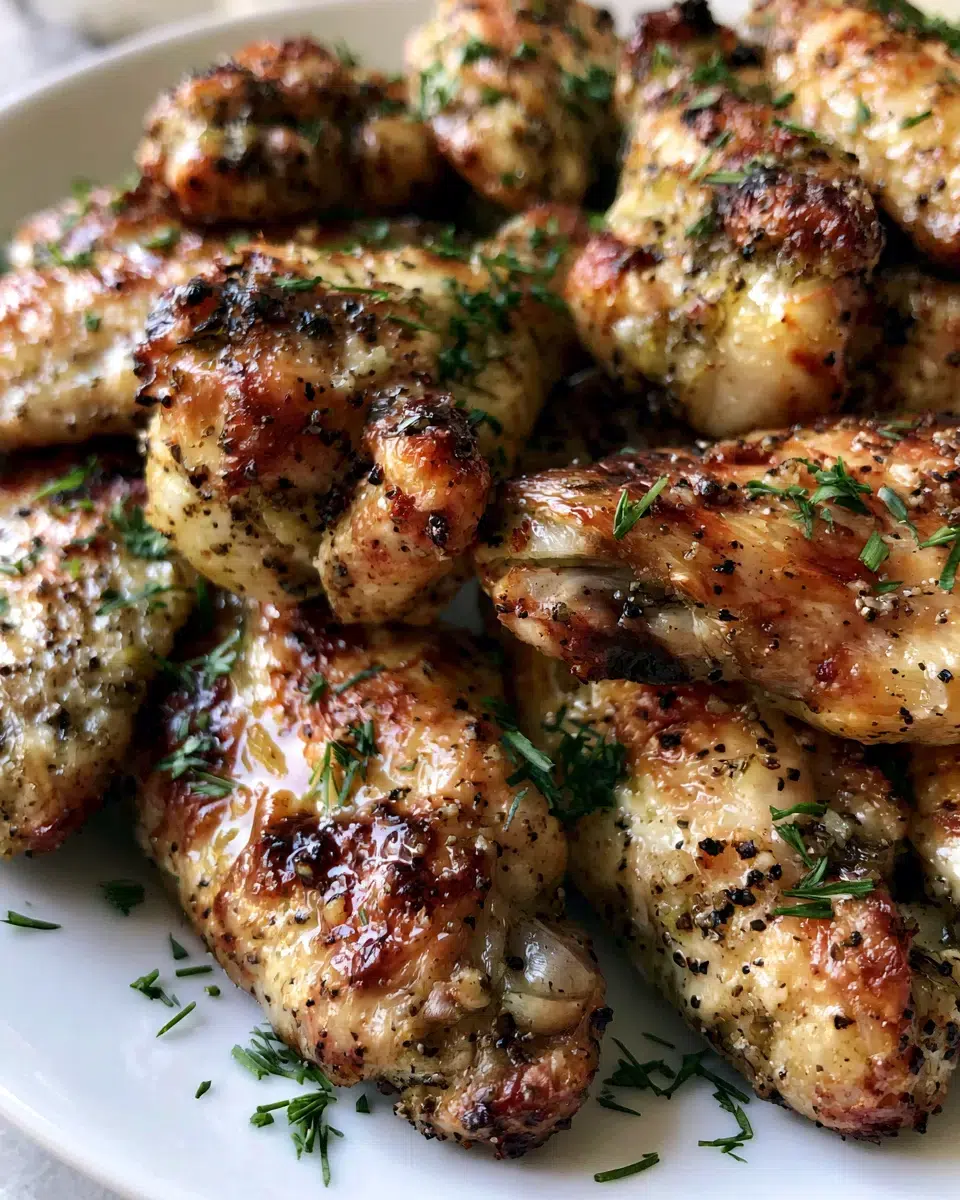
Frequently Asked Questions about Dill Pickle Chicken Wings
Q: How long should you brine Dill Pickle Chicken Wings in pickle juice?
Answer: For the best balance of tangy flavor and tender texture, brine the wings for 2 to 4 hours in the refrigerator. If you want a stronger pickle punch, you can go a little longer, but very long brines can make the flavor overly intense and the wings taste too salty.
Personal Detail: I usually check mine mid-afternoon, and the second I open the fridge and get that dill-and-garlic scent, I know we are on the right track.
Q: Do you rinse wings after a pickle juice brine?
Answer: Typically, no, rinsing can wash away the seasoning you worked for. The key is to drain well and pat very dry so the skin can crisp up. If your pickle juice is extremely salty, a quick rinse can help, but dry the wings thoroughly afterward.
Personal Detail: You can literally see the paper towels get damp fast. When I do a second round of drying, the wings look more matte, and that is when I know crispiness is possible.
Q: Why do you use baking powder on wings for extra crispiness?
Answer: Baking powder helps the skin dry out and crisp by changing the surface chemistry of the skin, encouraging browning and that crackly texture. Use aluminum-free baking powder, and toss it evenly so you don’t get bitter pockets.
Personal Detail: When they are done, I tap a wing with tongs and you can hear that little crisp shell. That sound is everything.
Q: Can I make Dill Pickle Chicken Wings in the air fryer instead of the oven?
Answer: Yes. Air fryers are great for wings because the hot circulating air crisps the skin quickly. Pat the wings very dry, avoid overcrowding, and cook in batches if needed so air can move around each wing.
Personal Detail: The only problem is the first batch disappears while the second batch is still cooking, because everyone suddenly “needs a taste.”
Q: Can you make Dill Pickle Chicken Wings in a slow cooker, and how long do they take?
Answer: You can cook the wings in a slow cooker for tenderness and flavor, but they won’t come out crispy without a finishing step. Cook on LOW for 3–4 hours or HIGH for 1½–2½ hours, then place them on a sheet pan and bake briefly to crisp the skin.
Personal Detail: I do this when the oven is busy, then I crisp the wings right before guests arrive so they still feel like a fresh-from-the-oven snack.
Q: How do you thicken dill pickle sauce or dill pickle mayo for wings?
Answer: For a thicker dip, start with a thicker base and add pickle juice slowly. You can also stir in a little more mayo or a spoonful of plain Greek yogurt, then chill the sauce for 15–30 minutes so it tightens up.
Personal Detail: I always make the sauce first, then taste it again after it chills. The flavor settles, and it usually tastes even better.
Q: What can I use instead of fresh dill in Dill Pickle Chicken Wings?
Answer: Dried dill works well, use a smaller amount since it’s more concentrated. You can also lean on dill pickle seasoning or add a bit more garlic powder and black pepper to keep the flavor bold.
Personal Detail: This is my pantry-save move when I am out of fresh herbs but the craving still hits.
Q: How do you store leftover Dill Pickle Chicken Wings?
Answer: Cool wings to room temperature, then store in an airtight container in the refrigerator for up to 3–4 days. Keep any dipping sauce separate so the wings don’t soften.
Personal Detail: I label the container because mystery leftovers never get as excited a reaction, and these wings deserve better than that.
Q: How do you reheat wings so they stay crispy?
Answer: Reheat wings in the oven or air fryer so hot air can re-crisp the skin. Spread them out in a single layer and heat until hot throughout and the skin feels crisp again. Avoid microwaving if you want crunch.
Personal Detail: I listen for that sizzling edge as they warm back up. When you hear it, you know you are getting the crunch back.
Once you make Dill Pickle Chicken Wings this way, pickle juice brining stops feeling like a gimmick and starts feeling like your secret weapon. Tangy, garlicky, and crisp, they are the kind of snack that makes people wander back into the kitchen for “just one more.”
Thank you for cooking with me, it means so much to have you in my little NYC kitchen corner.
If you want more cozy, family-friendly recipes, come follow me on Pinterest.
Print
Dill Pickle Chicken Wings (Crispy Pickle-Brined)
- Total Time: 60 minutes
- Yield: 4 servings 1x
Description
Make Dill Pickle Chicken Wings with a simple pickle juice brine, garlic-dill seasoning, and crispy baked skin. Perfect for game day or snacks.
Ingredients
2 lb chicken wings
2 cups dill pickle juice
1 tsp fresh dill, chopped
1 tbsp olive oil
2 tsp garlic powder
1 tbsp aluminum-free baking powder
1/2 tsp salt
1/2 tsp freshly cracked black pepper
Fresh or dried dill, for garnish
Instructions
1. Brine the wings. Place wings in a zip-top bag or covered container. Pour in the dill pickle juice. Refrigerate.
2. Preheat the oven. Heat to 425°F. Set a wire rack on a sheet pan if you have one.
3. Drain and dry. Remove wings from the brine, let them drain, then pat very dry. Do the “dry twice” trick if you have time.
4. Season. In a large bowl, mix garlic powder, aluminum-free baking powder, salt, and black pepper. Add wings and olive oil, then toss until evenly coated.
5. Arrange. Place wings on the rack in a single layer with a little space between them. Crowding is the enemy of crisp.
6. Bake. Bake for 40 to 50 minutes, flipping halfway through, until the skin is deeply golden and the wings reach 165°F internally.
7. Finish with dill. Sprinkle with fresh chopped dill and a little extra black pepper if you like that sharper bite.
Notes
Pat dry twice for extra crispiness. Use a wire rack for better airflow. Aluminum-free baking powder is key for crisp skin without a bitter taste.
- Prep Time: 10 minutes
- Cook Time: 50 minutes
- Category: Appetizer
- Method: Baked
- Cuisine: American
Nutrition
- Serving Size: 1 serving
- Calories: 350
- Sugar: 0
- Sodium: 800
- Fat: 20
- Saturated Fat: 5
- Unsaturated Fat: 15
- Trans Fat: 0
- Carbohydrates: 2
- Fiber: 0
- Protein: 30
- Cholesterol: 100