
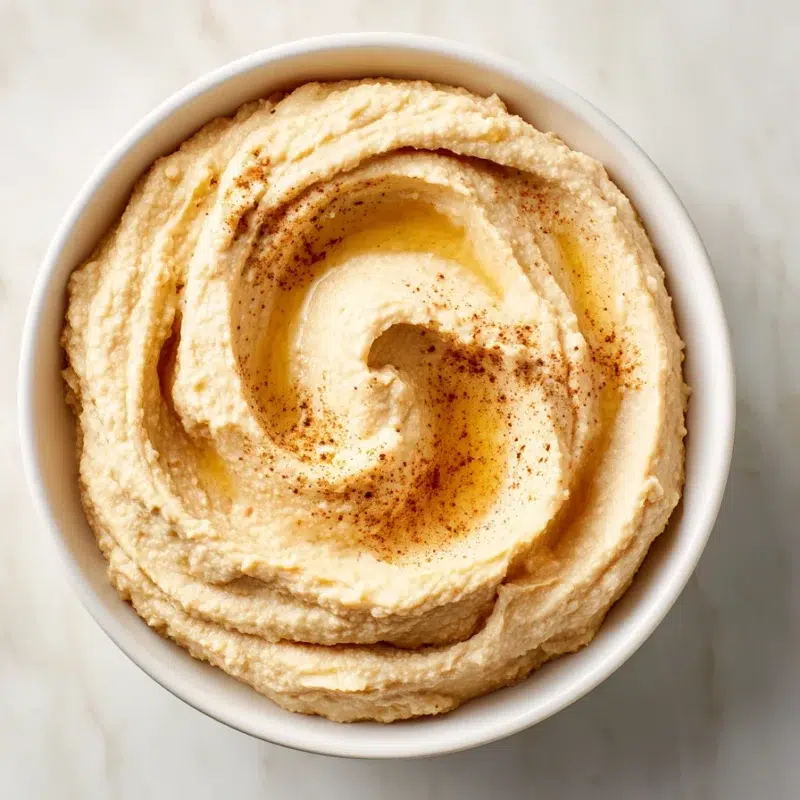
This 5-Minute Smooth Hummus is my “everyone’s hungry” dip, the one I can pull off even when I’m juggling homework questions, a ringing phone, and that moment when someone yells, “What’s taking so long?” from the living room. It’s fast, pantry-friendly, and it turns into that creamy, swoopy bowl of comfort that makes a snack plate feel like a real plan.
The first time I tried the ice-cold water trick, I honestly thought it sounded a little dramatic. Then I watched the hummus go from “fine” to pillowy and glossy right in front of me, and I never looked back. If you’ve been searching for an easy hummus recipe that still tastes like the best hummus recipe at your favorite spot, this one is it. It’s homemade hummus you can make on a busy Tuesday, and yes, it can be a fluffy hummus recipe too.
- Fast and reliable: ready in about 5 minutes with simple ingredients.
- Dreamy texture: creamy, light, and smooth, not grainy or heavy.
- Snack-board friendly: perfect for appetizer snacks, lunches, and last-minute guests.
What Makes This Hummus So Smooth and Fluffy?
This recipe is all about texture first. The secret is not complicated ingredients, it’s the order and the blending. When you whip the tahini and lemon juice together before adding the chickpeas, you’re basically building a creamy base that helps everything emulsify. That’s what nudges your hummus toward that extra smooth and fluffy hummus vibe instead of a dense bean dip.
Then comes the blending time. I know we all want to hit “on” and call it done, but this is where an extra minute matters. Blend, scrape down, then blend again. When it’s right, the hummus looks a little paler, almost whipped, and it holds soft swirls like frosting when you drag a spoon through it.
Texture checklist:
- Glossy: the surface looks shiny, not dull.
- Pale and airy: it lightens in color as it whips.
- Spoonable: it falls off a spoon slowly, not in a paste-like plop.
- No grit: you shouldn’t feel little chickpea bits when you taste.
Ingredients You Need (Simple Pantry Staples)
This is the kind of healthy hummus I can make from my weeknight pantry without a special grocery run. In our house, lemon and tahini are the signature flavor, bright and nutty, and they make the whole bowl taste like it belongs in the center of the table with warm bread and crunchy veggies.
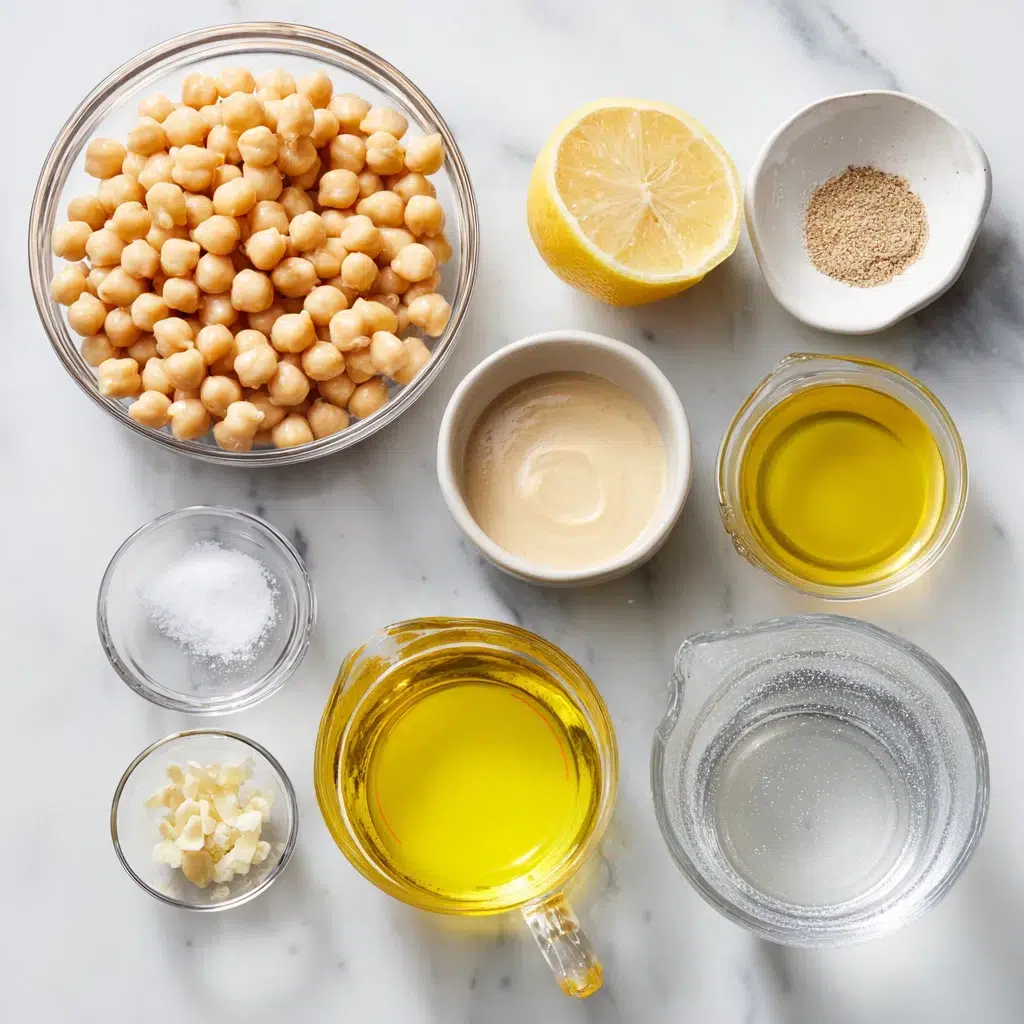
- 1 can (15 oz) chickpeas, drained and rinsed: the base of this homemade hummus and the reason it’s so filling.
- ¼ cup fresh lemon juice: brings brightness and keeps the flavor from tasting flat.
- ¼ cup tahini: the creamy backbone, it makes the hummus taste rich and balanced.
- 1 small garlic clove, minced: for that classic garlic hummus bite without overpowering.
- 2 tablespoons extra virgin olive oil: adds smoothness and a little fruity finish.
- ½ teaspoon ground cumin: warm and cozy, like a quiet background note.
- ½ teaspoon salt: wakes everything up.
- 3 tablespoons ice-cold water: the texture magic that makes it lighter and fluffier.
Optional variations (add to the base):
- 1–2 extra garlic cloves: for a bolder garlic hummus.
- 1–2 tablespoons extra lemon juice: for a brighter, tangier hummus.
- ¼–½ teaspoon extra cumin: for a warmer, cumin-forward flavor.
Best Equipment for Ultra-Smooth Hummus
You can make a smooth hummus in either a food processor or a blender, but your results will depend on how long you blend and whether you stop to scrape down the sides. I learned this the hard way, rushing a batch while my kids circled the kitchen like little snack sharks. The hummus tasted good, but the texture was not the creamy dream I wanted. Now I slow down by one minute, scrape, and it’s always better.
- Food processor: classic choice, easy to scrape down, great for an easy hummus recipe with a slightly rustic but still creamy finish.
- Blender: best for extra smooth hummus, especially if you want it super fluffy for guests, but you may need to stop more often to push things down.
Whatever you use, plan on blending longer than you think, then scraping, then blending again. That extra minute is what takes it from “good” to “I’d serve this to company.”
How to Make 5-Minute Smooth Hummus
This is my go-to hummus recipe for busy days. I’ll set out cucumbers and carrots, toss a handful of pita chips on a plate, and let the food processor do the heavy lifting while dinner finishes. The smell of lemon and garlic always makes the kitchen feel like it’s settling down, even if the rest of the house is still loud.
Step-by-Step Instructions
- Whip the tahini and lemon first. Add the tahini and lemon juice to your food processor or blender. Blend for about 30 to 45 seconds until it turns pale and creamy. Micro-tip: When this looks whipped, you’re building that fluffy texture before the chickpeas even go in.
- Add garlic, olive oil, cumin, and salt. Add the minced garlic, olive oil, cumin, and salt. Blend again for 15 to 20 seconds. Micro-tip: Scrape down the sides so the garlic doesn’t hide in a corner.
- Add chickpeas and blend. Add the drained and rinsed chickpeas. Blend for 60 seconds, then stop and scrape down the bowl. Blend again for another 60 seconds. Micro-tip: Blend 60 seconds longer than you think you need to, it really matters for smoothness.
- Drizzle in ice-cold water while blending. With the machine running, slowly drizzle in the ice-cold water. Blend for another 30 to 60 seconds until the hummus looks glossy and airy. Micro-tip: Add water gradually so you can stop exactly at your favorite creamy texture.
- Taste and adjust in layers. Taste, then adjust like I do: salt first, then lemon, then garlic. Blend briefly after each change. Micro-tip: Small tweaks make a big difference, especially with homemade hummus.
The Ice-Cold Water Timing Trick
If you’ve ever wondered about ice-cold water in hummus, this is the moment it shines. Don’t dump it in all at once. Drizzle it in slowly while the machine runs, and watch the hummus get lighter right in front of you. The color will look a little brighter, and the texture will go from thick to creamy hummus that holds soft swirls.
If you’re serving this as creamy hummus with pita bread, I like to let it rest for about 10 minutes before putting it out. The garlic and lemon mellow into the chickpeas, kind of like soup that tastes better after it sits.
If you want to turn this into a full lunch, try my Mediterranean hummus bowl for an easy lunch.
Flavor Variations (Same Creamy Base)
Once you have the base down, you can take it in a bunch of directions without messing up the texture. This is one of my favorite little “Mediterranean recipes” building blocks because it works for quiet afternoons and for appetizer snacks when friends pop by.
- Extra-garlic (grown-up garlic hummus): Add 1 to 2 extra garlic cloves. Taste after blending, then add more only if you really mean it.
- Bright and lemony: Add 1 to 2 tablespoons extra lemon juice. This is my summer version, especially with crunchy cucumbers.
- Cumin-forward and cozy: Add ¼ to ½ teaspoon extra cumin. This is the one I make on movie nights with warm pita and a big blanket on the couch.
Keep the base method the same, especially whipping the tahini and lemon first, and you’ll keep that fluffy hummus recipe texture no matter which direction you go.
Serving Ideas (Pita, Snack Boards, Lunch Boxes)
This is where hummus really earns its keep. I make a batch, and suddenly the week has a plan. After-school snack plates get easier, lunch boxes look less sad, and weekend grazing turns into a “snack board” situation without much effort.
If you’re doing hummus and pita chips, I love adding a little olive oil on top and a pinch of cumin, then setting out crunchy veggies. It feels like a treat, but it’s still the kind of healthy hummus I’m happy to serve any day of the week.
- Dippers: pita wedges, pita chips, homemade pita chips with hummus, cucumbers, carrots, bell peppers, snap peas, cherry tomatoes.
- Ways to use it (not just dipping): spread on sandwiches, spoon into wraps, dollop on grain bowls, swirl onto a plate and top with chopped cucumbers and tomatoes, stir into a pasta salad as a creamy element.
For a make-ahead pairing that feels right at home next to this dip, try my chickpea cranberry salad for a make-ahead side.
Troubleshooting: Fix Grainy, Bitter, Too Thick/Thin, and More
I have absolutely had hummus seize up on me, and I have definitely over-salted a batch while talking to one of my kids about a school project. The good news is you can fix most hummus problems without starting over. Think of this section like your kitchen rescue kit.
- Problem: Grainy texture
Cause: Not blended long enough, or the sides weren’t scraped down
Fix: Blend 60 seconds longer, scrape, then blend again. Add 1 tablespoon ice-cold water if needed for a smoother finish. - Problem: Too thick (fix hummus too thick)
Cause: Not enough liquid, or it tightened as it sat
Fix: Blend in ice-cold water 1 tablespoon at a time. Tip: Fix thickness with water, not more oil, so it stays creamy without feeling heavy. - Problem: Too thin
Cause: Too much water added too fast
Fix: Blend in a few more chickpeas, then chill it. Hummus often thickens slightly in the fridge. - Problem: Bitter flavor
Cause: Tahini can taste bitter on its own, or garlic can be too sharp
Fix: Add a little more lemon juice and a pinch more salt, then blend. Let it rest 10 minutes so the flavors mellow. - Problem: Too garlicky
Cause: Garlic clove was extra strong
Fix: Add a few more chickpeas and a small splash of water, then blend until balanced.
Storage, Make-Ahead, and Meal Prep Notes
Homemade hummus is one of my favorite meal prep helpers because it makes quick food feel intentional. I’m a big fan of labeling the container, because otherwise it turns into a fridge mystery by day three.
- Fridge: Store in an airtight container for about 4 to 5 days.
- Before serving: Stir, then smooth the top with a spoon. If it thickens, blend or stir in a small splash of water.
- Freshness trick: A thin drizzle of olive oil on top can help keep the surface from drying out.
- Flavor tip: Let it rest 10 minutes for the best flavor, even a short rest helps everything settle together.
Frequently Asked Questions about 5-Minute Smooth Hummus
Q: How do you make hummus extra smooth and fluffy?
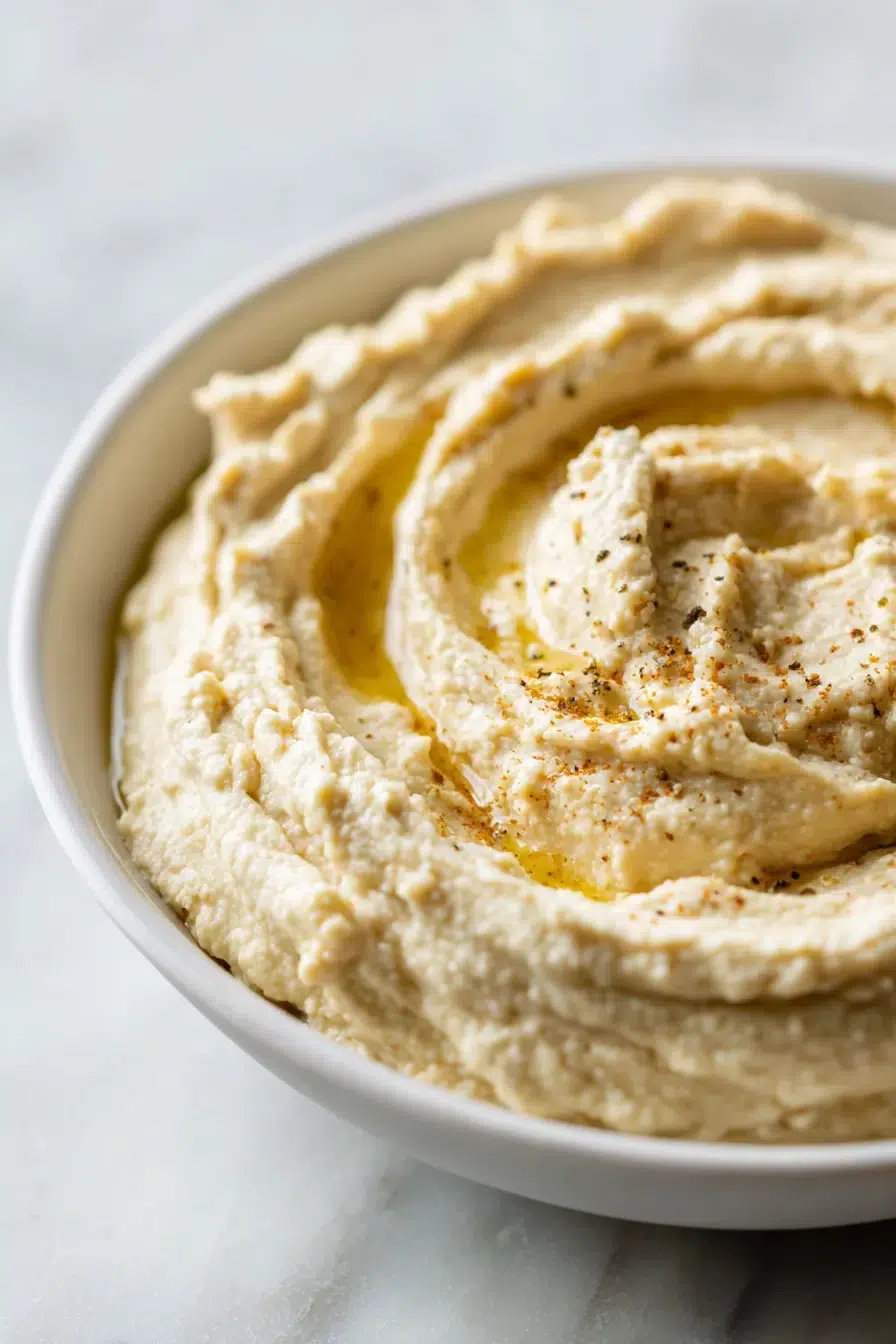
Answer: Blend the tahini and lemon juice until it turns pale and creamy, then add chickpeas and keep blending longer than you think you need to. Scrape down the bowl at least once, and drizzle in ice-cold water while the machine runs to lighten the texture. At home, I know it’s right when it turns glossy and holds soft swirls, kind of like frosting.
Q: Why add ice-cold water to hummus?
Answer: Ice-cold water helps the mixture emulsify and whip up lighter as it blends, giving hummus a fluffier, creamier feel. Add it gradually so you can stop at the texture you like. I love watching the color lighten a bit as the hummus turns more airy.
Q: Can I substitute tahini in hummus (and what works best)?
Answer: You can still make a creamy dip without tahini by using a nut or seed butter with a mild flavor and smooth texture. Start with a smaller amount, blend, then adjust lemon and salt to balance the flavor. On pantry days when tahini runs out, I reach for whatever mild, creamy option I have and just taste carefully as I go.
Q: How do I fix hummus that’s too thick or too thin?
Answer: If it’s too thick, blend in ice-cold water 1 tablespoon at a time until it loosens and turns silky. If it’s too thin, blend in a few more chickpeas (or let it chill, hummus often thickens slightly in the fridge). My scoop test is simple: it should fall off a spoon slowly, not plop like paste.
Q: Do you have to peel chickpeas for smooth hummus?
Answer: Peeling chickpeas can make hummus a bit smoother, but it’s not required for a creamy result. With a strong blender or processor, enough blending time, and the ice-cold water trick, you can get very smooth hummus without peeling. On busy days, I choose speed and I still love the texture.
Q: How long does homemade hummus last in the fridge?
Answer: Stored in an airtight container, homemade hummus typically keeps well for about 4 to 5 days. Give it a quick stir before serving, and add a small splash of water if it thickens. I usually store mine in a lidded container, then I do the little “stir and smooth the top” habit before it goes on the table.
Q: Can you freeze hummus, and does the texture change?
Answer: Yes, you can freeze hummus in a tightly sealed container, ideally with a little space for expansion. After thawing in the fridge, stir or re-blend briefly to bring back a creamier texture, since it can separate slightly. I like freezing small portions so I can grab one for quick lunch boxes or snack plates.
Q: Can you warm hummus, what’s the best way to reheat it?
Answer: You can warm hummus gently, the best approach is low heat and slow warming so it stays creamy. Warm it in short bursts, stirring in between, and add a teaspoon of water if it tightens up. I love it slightly warm with olive oil on top for a cozy snack.
Q: Can you cook chickpeas in a slow cooker for hummus, and how long does it take?
Answer: Yes, slow-cooked chickpeas work well for hummus because they can get very tender. Cook soaked chickpeas on low until they’re very soft (often 6 to 8 hours depending on the slow cooker), then drain and blend as usual. My pinch test is that they should mash easily between your fingers.
Whether you’re scooping it up with hummus and pita chips, spreading it into a wrap, or serving creamy hummus with pita bread for a quick dinner side, I hope this 5-Minute Smooth Hummus makes your day feel a little easier and a lot more delicious.
Thank you for cooking with me, I’m so happy you’re here in my little NYC kitchen.
Come hang out with me on Pinterest for more cozy, family-friendly recipes.
Print
5-Minute Smooth Hummus (Creamy, Fluffy & Easy)
- Total Time: 5
- Yield: 4 servings 1x
- Diet: Vegetarian
Description
Make 5-Minute Smooth Hummus with chickpeas, tahini, lemon, garlic, and ice-cold water for a creamy, fluffy dip, perfect with pita and snacks.
Ingredients
1 can (15 oz) chickpeas, drained and rinsed
¼ cup fresh lemon juice
¼ cup tahini
1 small garlic clove, minced
2 tablespoons extra virgin olive oil
½ teaspoon ground cumin
½ teaspoon salt
3 tablespoons ice-cold water
Instructions
1. Whip the tahini and lemon first. Add the tahini and lemon juice to your food processor or blender. Blend for about 30 to 45 seconds until it turns pale and creamy.
2. Add garlic, olive oil, cumin, and salt. Add the minced garlic, olive oil, cumin, and salt. Blend again for 15 to 20 seconds.
3. Add chickpeas and blend. Add the drained and rinsed chickpeas. Blend for 60 seconds, then stop and scrape down the bowl. Blend again for another 60 seconds.
4. Drizzle in ice-cold water while blending. With the machine running, slowly drizzle in the ice-cold water. Blend for another 30 to 60 seconds until the hummus looks glossy and airy.
5. Taste and adjust in layers. Taste, then adjust like I do: salt first, then lemon, then garlic. Blend briefly after each change.
Notes
Store in an airtight container for about 4 to 5 days. Stir before serving, and add a small splash of water if it thickens. A thin drizzle of olive oil on top can help keep the surface from drying out.
- Prep Time: 5
- Category: Appetizer
- Method: No Cook
- Cuisine: Mediterranean
Nutrition
- Serving Size: 1/4 cup
- Calories: 120
- Sugar: 1
- Sodium: 150
- Fat: 8
- Saturated Fat: 1
- Unsaturated Fat: 7
- Trans Fat: 0
- Carbohydrates: 10
- Fiber: 3
- Protein: 4
- Cholesterol: 0